Let’s Make your own DIY Newborn Headband
A baby girl in a white dress sitting on a wooden bridge.
Gillian e mansfield photography logo.

By Giliane Mansfeldt

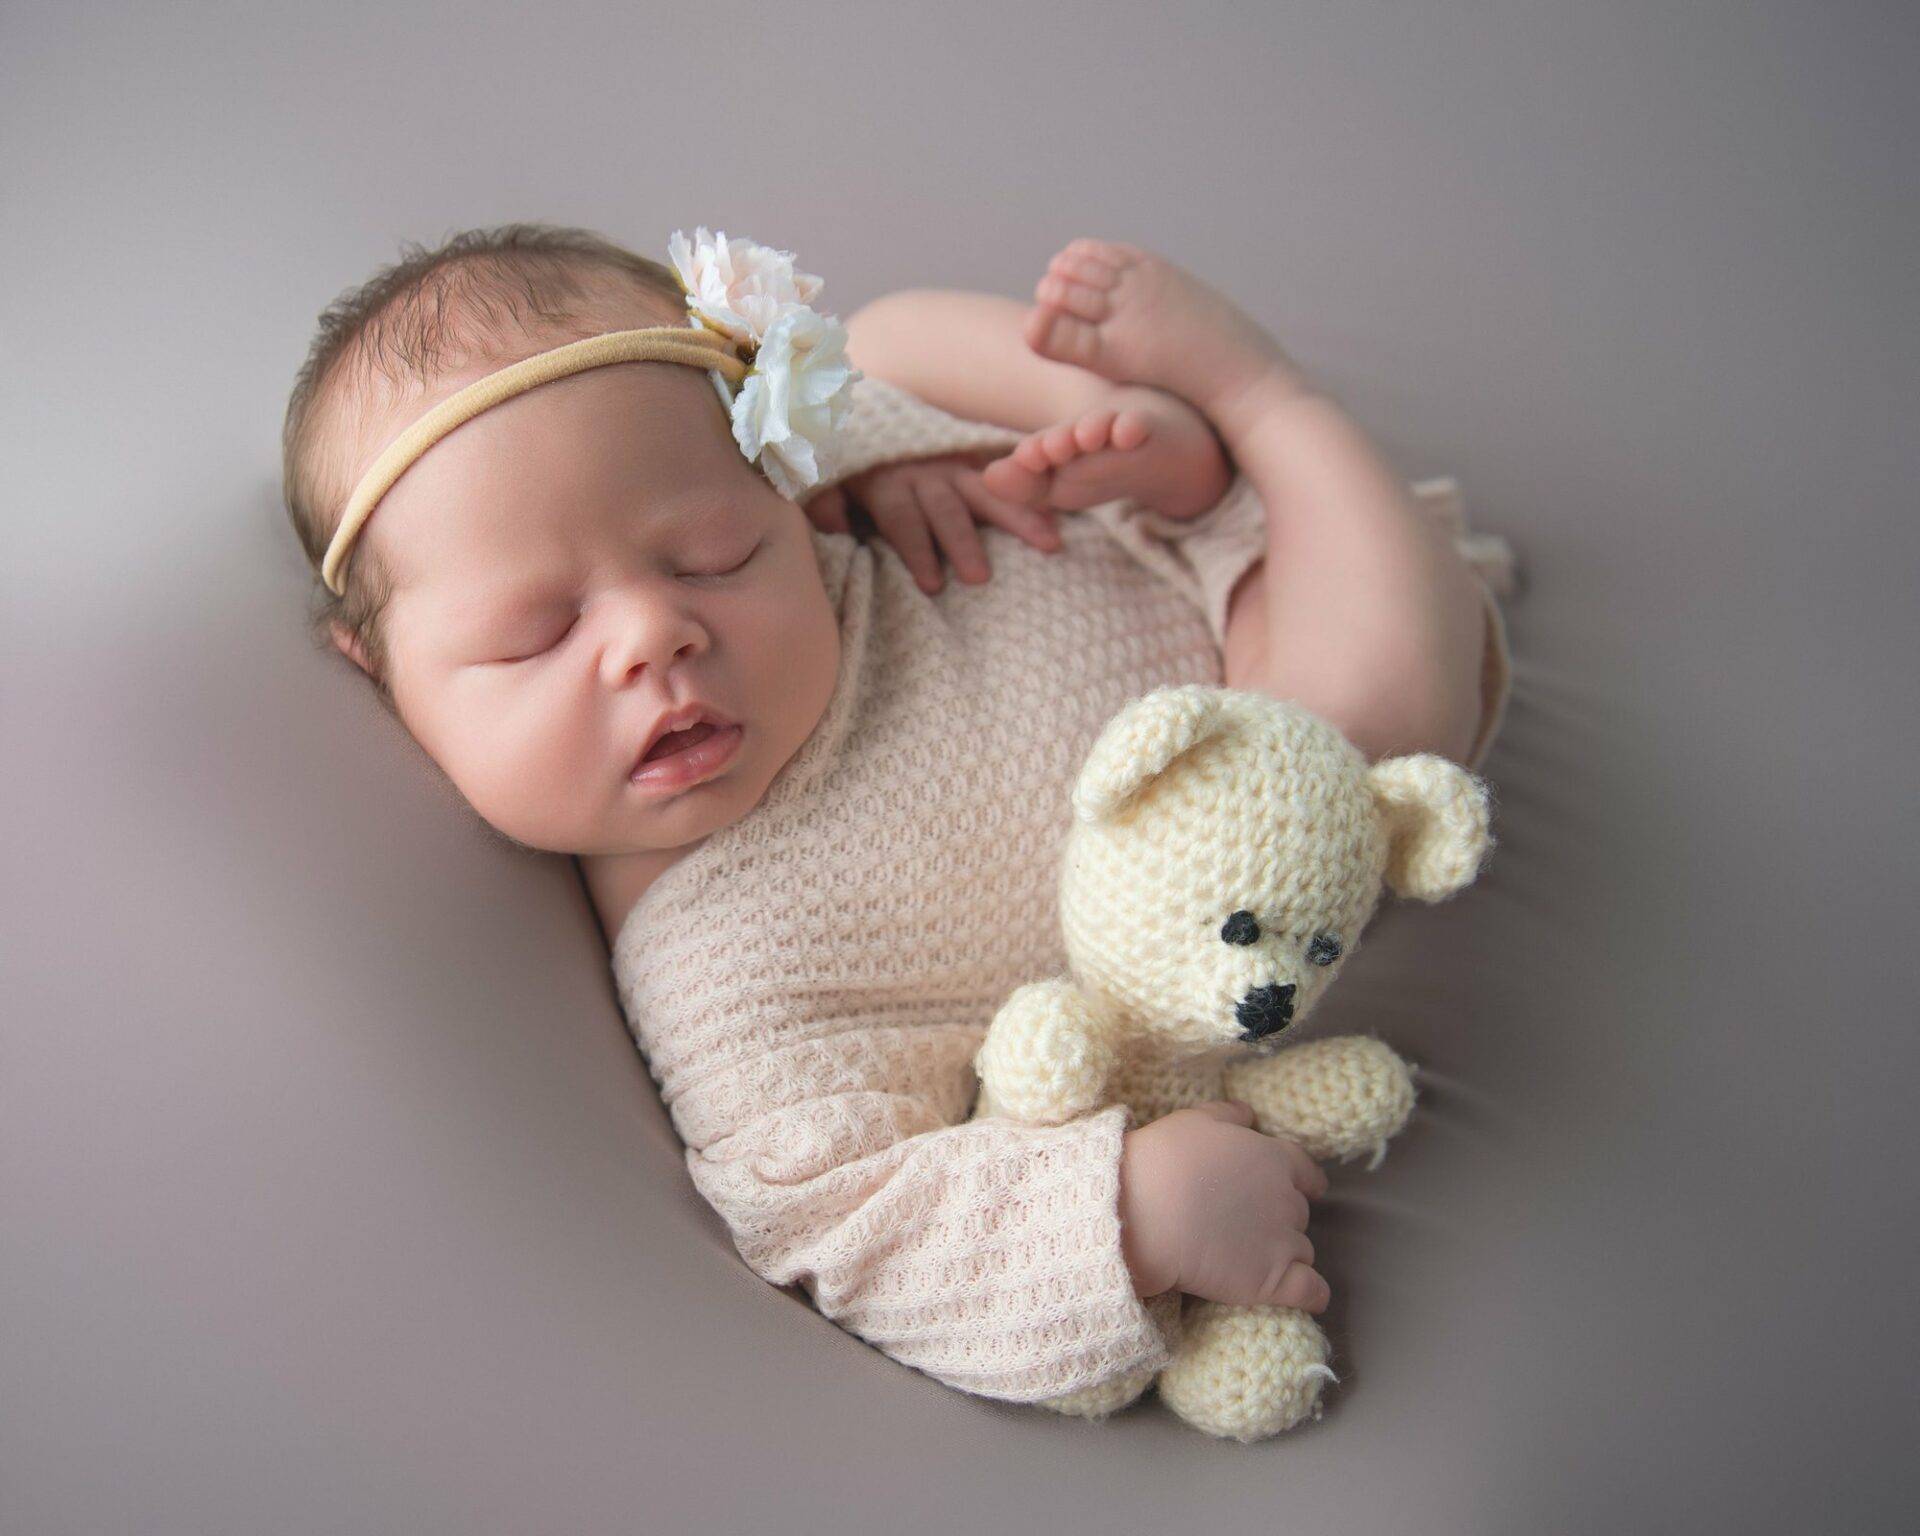
Baby hair, while adorable, can be difficult to tame. Once you start paying attention, it’s easy to figure out that there’s a reason baby hats and headbands are so popular. If you’re looking for some of your own, or for any friends or family who are expecting, why not make some that you can personalize? Simple to do, and cute as can be, here’s several DIY newborn headband ideas you can try out.

For the first two headband ideas, here’s what you’ll need

Styled photography for creatives, bloggers, small businesses, & social media enthusiasts! Post & share with confidence!
  • Soft elastic
  • Fake flowers, stars, anything you’d like to decorate it
  • Fabric glue/glue gun
  • Scissors

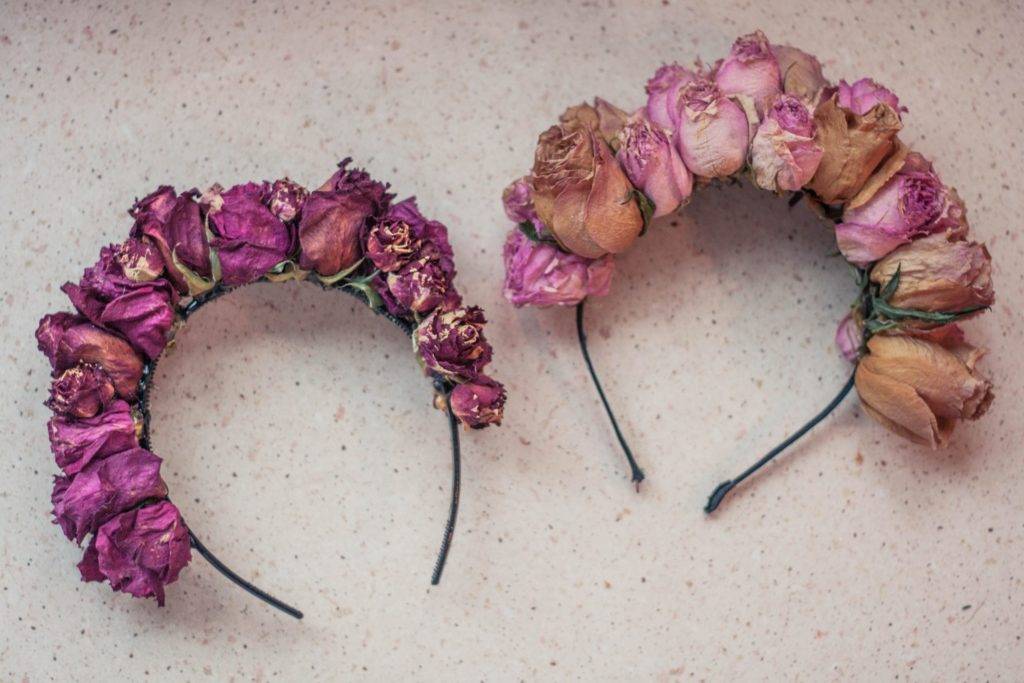
You’ll have to cut the elastic to about 1/2 inch wider than the circumference your little one’s head. Now, you’ll take your decorations—your flowers, or stars, or whatever else—and start to glue them slightly off center from the middle of the band (if you’ve got a particularly big flower, you’ll only need one). Once you’ve got all you want glued on, glue the ends of the band together. Be sure to use enough glue so that it holds through more than just one wear!

Your second option with the elastic is quite similar to the first. You will, again, cut your elastic to a half-inch wider than your baby’s head. You’ll take your decorations and place them, one after the other, along the band from one end to the other. Glue the ends together and voila! Another cute headband, and all doable within a half hour.

  • For the last idea, you’ll just need:
  • Soft knit fabric (you can use up any old scraps you have around!)
  • Fabric glue
  • Scissors
Two headbands made from dried roses.

That’s it! For this headband, you’ll start by cutting a piece of fabric 5 inches wide, and 1/2 inch longer than your baby’s head. You will also cut a second piece that is 1 inch wide and 2 and 1/2 inches long.

After that, take each strip and fold each in the long way, gluing one edge of the fabric over the other so that you have two long tubes of fabric.

Take the larger tube and glue the ends together to create a basic band, one that you could fit onto your baby’s head comfortably. The easiest way to do this is to slip one end of the tube into the other and glue along the inside of those edges so that they stick together.

Once you’re finished with that, take your smaller tube of fabric, and use it to cover and wrap around the seam you created on your larger tube. Make sure that the seams are facing inward, so that the outside looks nice and smooth.

Glue the smaller tube to the bigger tube, and then glue the ends of the smaller tube together—this can be done the same way you connected the ends of the larger tube together.

And voila! Three different styles of headband, each only limited by your own creativity! You can easily make plenty to go with whatever mood suits you. Heck, you could even make one of your own, and the two of you can match as you head out on the town!

We found and adapted these ideas from: https://abeautifulmess.com/2017/10/baby-headband-diy-3-ways-and-no-sew.html

https://www.practicallyfunctional.com/diy-no-sew-baby-flower-headbands/

Spread the word

Facebook
Twitter
LinkedIn
Pinterest

Sign Up for

Our Newsletter

Subscribe to us to always stay in touch with us and get the latest news
about our company and all of our activities!

navigate

get started

Sign up for our Newsletter

a photo of giliane mansfeldt owner of giliane mansfeldt photography and a newborn in a bowl

Let's Stay In Touch & Receive 10% off

Gain access to session openings, insightful tips, special deals and other exciting content.